Seriously, this would be the best salsa I’ve ever tasted – somehow it captures the taste of summer and I find there’s an underlying coconut flavour to it – no idea how that happens because there’s no coconut in it! I love this over the top of homemade Chicken Schnitzel – just the right balance of ingredients!
Ingredients
- 2 mangos – fresh if possible otherwise use frozen
- juice of 1 lime
- 1 red onion finely chopped
- 1 small red chilli
- fresh chives or coriander to garnish
Mix all ingredients and let sit for about an hour to infuse all flavours.

Pizza – Cashing in on the Dough – Bellissimo!

There’s nothing quite like home made pizza dough – light, fluffy, and delicious – forget about the store bought cardboard – make your own!!
We have experimented with heaps of different doughs – we started making dough when we had a bread machine – one hour later, and not enough dough quickly changed that idea – it just didn’t cope and I was spending hours just making dough.
So we switched to doing it by hand – it takes about 20-30 minutes to make the dough – while its rising, we heat up the oven and get ready to start building pizza. To make the dough rise quicker, we have found that if we separate the dough into portions before leaving it to rise, that it actually rises quicker. For this recipe, we divide it up into 8 equal portions – we use 25cm pizza trays as these fit in the oven much better (4 at a time) – but use whatever trays you have (they don’t have to be round – your house, your rules!!)
- 600 g strong bakers flour
- 400g semolina
- 10ml olive oil
- 10g salt
- 10g sugar
- 20g dry yeast
- 650ml water (warm)
Mix dry ingredients, add water and oil. Knead on floured surface until dough is soft and pliable. Divide equally into 8 portions of 200g each. Place on tray – use baking paper or sprinkle the bottom of the tray with flour or semolina to stop sticking – and cover with a clean tea towel in warm draft free space until dough rises (about 20 mins depending on room temperature).

Building Pizzas
Roll out your dough portions – sprinkle some semolina flour on your workspace before rolling. The semolina will stop the pizza sticking from the tray – be generous with the semolina on the bottom of the pizza, it does not affect flavour and is a blessing when it comes to sliding off the tray.
Put your rolled out dough onto the tray. Spread a spoonful of sauce over the pizza base. Sprinkle with a cheese mixture (I use 50/50 cheddar and mozzarella cheeses). Then put your toppings on top with a very light sprinkle of cheese if needed (most do not need more cheese.
We roll out all our dough first, then we spoon sauce over them all (to make sure evenly shared among pizzas), then we do cheese on them all. Once that has been done, then we do the toppings.
Bake hot oven until crisp on base and cheese has melted (about 15 mins).

Freeze: yes. When we freeze the bases, we also put on the sauce and cheese. We freeze on the tray, and once frozen then we wrap (and free up the tray).
Lemon Slice
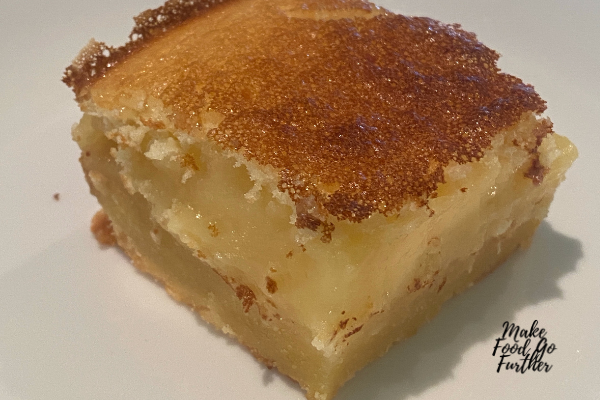
The secret to a really good lemon slice is that “zing” you get on your tongue after you eat it – balanced with just the right amount of sweetness so that you get a very slight shudder, but not a full on cringe. This is one of my favourite recipes – a short base, a creamy zing on the palate followed by the need for more.
Ingredients
Base:
- 1.5 C plain flour
- 1/2 cup icing sugar
- zest of 2-3 lemons (depending on how zingy you want it)
- 180g cold butter, chopped
- 2t iced water
Place all ingredients into a food processor (or mix by hand) and mix until a smooth ball forms. The ball should be able to hold form when pressed and not crack – if it does still crack when pressed, add a little more water.
Press into lined baking tray and bake 180deg for about 20 minutes – until it becomes golden.
Filling:
- 6 eggs
- 2C castor sugar
- 1C lemon juice
- 1/2c plain flour
Beat all ingredients together well, pour over cooked base and bake a further 35-40 minutes until firm.
Cool in tray for 10 minutes, then gently remove from tray and rest on a wire rack to completely cool (this stops the base from sweating and softening).
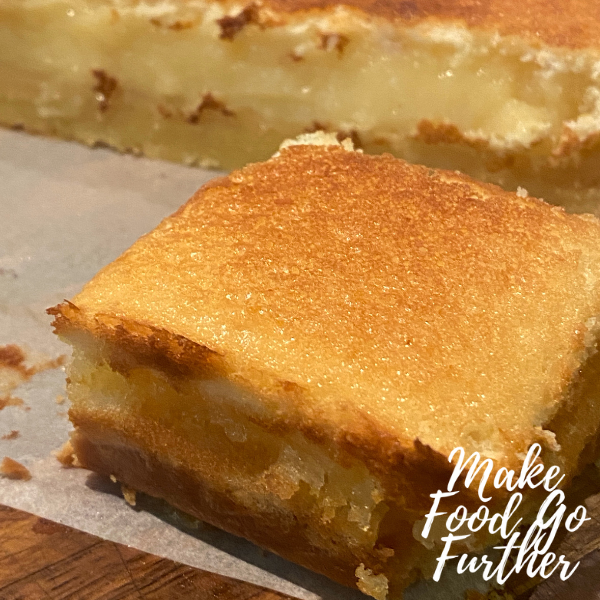
Once cool, cut into cubes.
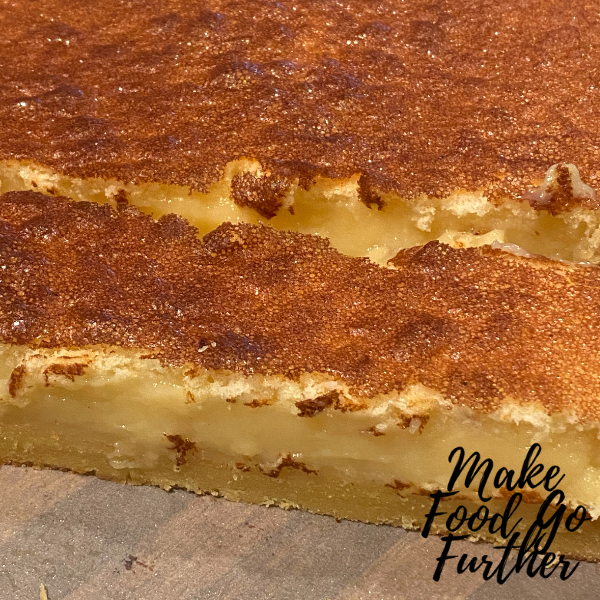
Hide in the back of the refrigerator so that nobody else can find it in an air tight container.
Not suitable to freeze (it won’t last that long anyway!).
Spring Rolls

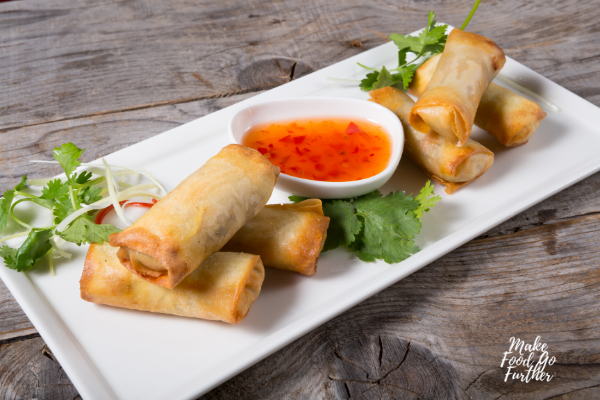
Looking for a really easy way to make Spring Rolls? This recipe will have you wanting more! So easy to make, delicious, and filling – cook them up as a snack or freeze them for later.
Ingredients:
- 500g pork mince
- small finely chopped cabbage
- 2 onions finely chopped
- 4 small grated carrots
- 3t crushed fresh ginger
- 1 packet vermicelli rice noodles (250g)
- 2 packets of spring roll pastry (20 sheets in each packet)
- Green ends of a bunch of shallots
- 2t garlic powder
Finely chop all ingredients and place in large mixing bowl. I had some spare cabbage leftover and it was only a small amount – believe me when I say chopped cabbage goes further than you think!

Soften the noodles by pouring boiling water over them and let them sit for a few minutes, then strain.
Mix in the ginger and garlic powder, add the pork mince. Add the noodles and using a pair of clean scissors, snip the noodles into short lengths as you mix them through.

Open the packet of pastry, and very gently pull back the corner of the first sheet. Position the pastry so that it is in a diamond position to you (you are going to roll away from you from the corner of the pastry). Spoon a generous tablespoon of the mixture onto the pastry.
Pull the corner of the pastry over the mixture and tuck in underneath on the far side so that you are forming a roll. Fold one side of the pastry over so that it encloses the end of the roll, and repeat for the other side as well.
Roll the pastry up firmly, and using a small bowl of water, dip your fingers into the water and wet the far corner of the pastry – this is so that when you get to the end it will stick and hold the roll in place.
To cook – heat some oil in a pan and fry until golden.
To freeze – store in air tight container in the freezer – I suggest that if you are freezing a large quantity that you separate the layers with grease proof paper so they are easier to separate when you want to use them.
