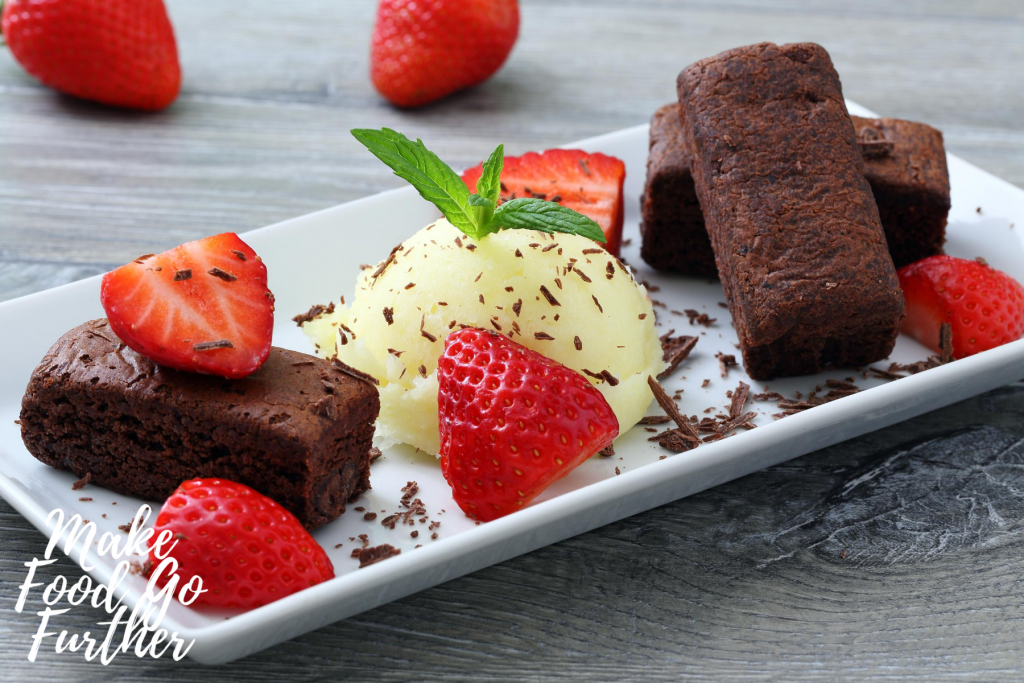
These chocolate brownies are seriously good and incredibly easy to make – if Mr 17 can make them (over and over again) then so can you!
Ingredients:
- 250g choc chips (white, milk or dark or a combination)
- 1 C self raising flour
- 250g butter
- 3/4 C castor sugar
- 1/2 C cocoa
- 4 eggs
Method
Melt the butter. Combine all the other ingredients, add melted butter. Pour batter into a lined cake tin/slice tin. Bake in a moderate oven for about 30 minutes.
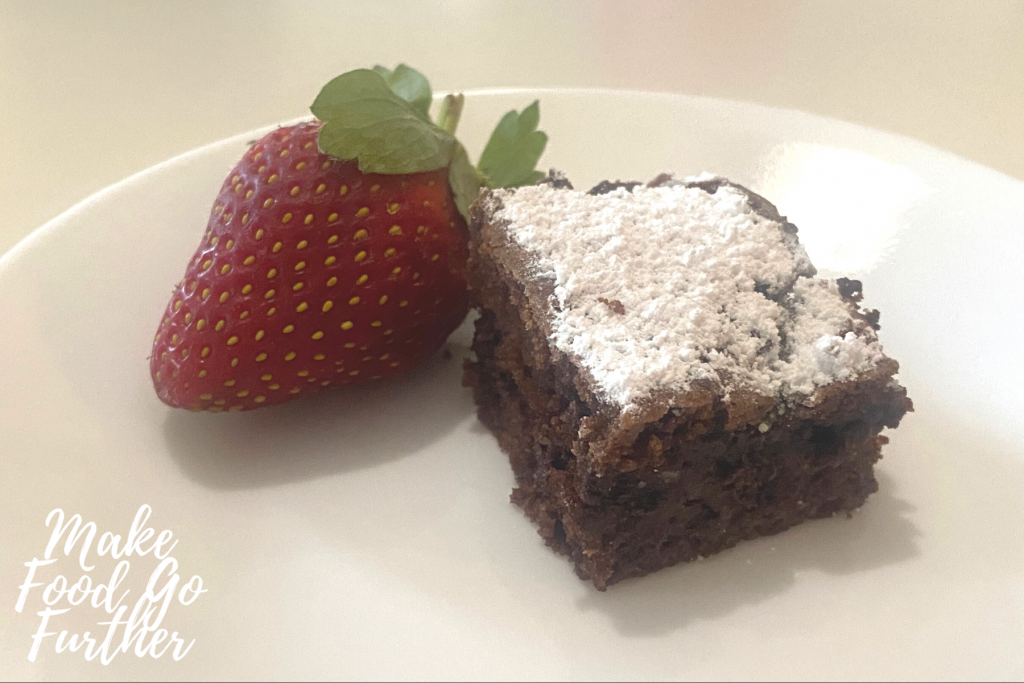
To see if the brownies are cooked – you want them still a little gooey on the inside, but firm on the outside. As they cool, they will continue to cook. If you want a drier brownie, cook for a little longer.
Wrapped Stuffed Dates
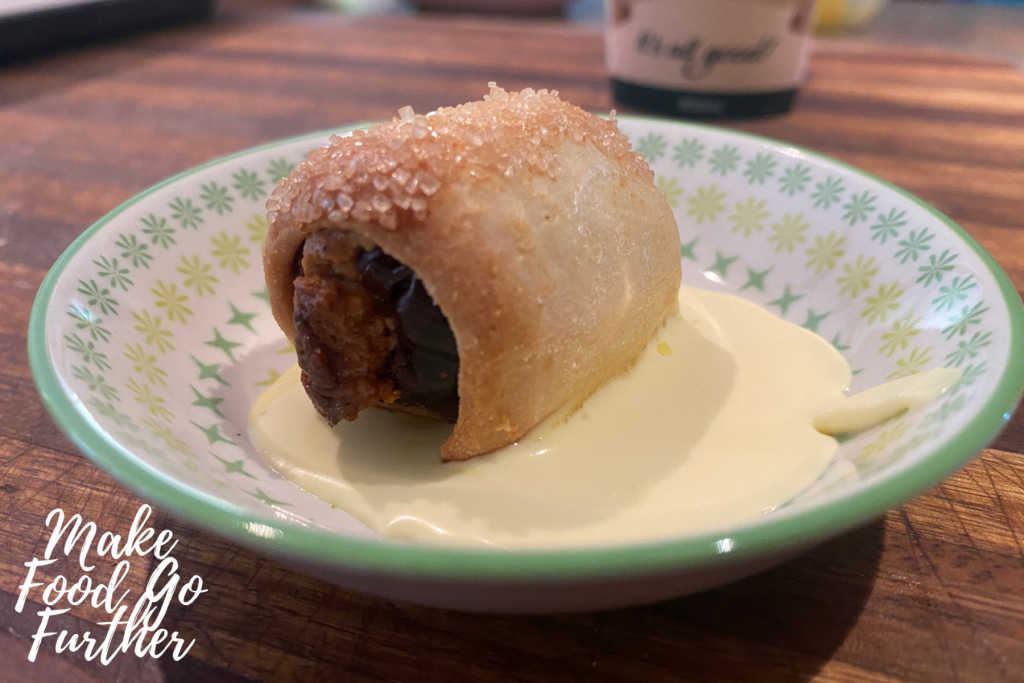
When you can buy dates at an absolute bargain price, and you buy 5kg of them – you need to be able to make more than just sticky date pudding! This super quick and easy way to treat yourself with dates is sure to be a hit.
Ingredients
- short crust pastry
- Fresh dates
- Nut butter or similar
- milk
- sugar
Roll out the short crust pastry until it is really thin. Cut into strips. Slice the date to remove the seed and fill with a teaspoon of nut butter. Roll the date up in the pastry. Brush with milk and roll in sugar. Place on tray.
Bake Hot oven until crisp and golden.
Serve warm or cold with fresh cream.

Lemon Slice
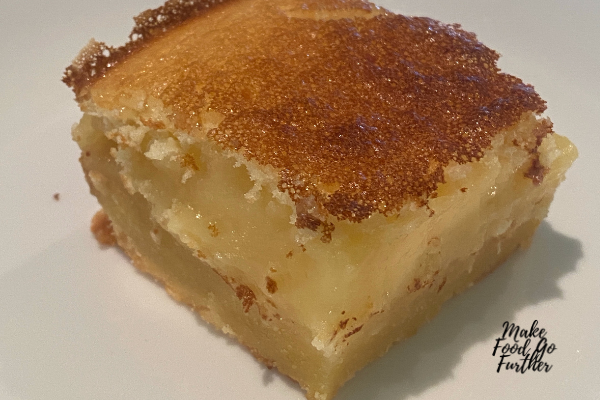
The secret to a really good lemon slice is that “zing” you get on your tongue after you eat it – balanced with just the right amount of sweetness so that you get a very slight shudder, but not a full on cringe. This is one of my favourite recipes – a short base, a creamy zing on the palate followed by the need for more.
Ingredients
Base:
- 1.5 C plain flour
- 1/2 cup icing sugar
- zest of 2-3 lemons (depending on how zingy you want it)
- 180g cold butter, chopped
- 2t iced water
Place all ingredients into a food processor (or mix by hand) and mix until a smooth ball forms. The ball should be able to hold form when pressed and not crack – if it does still crack when pressed, add a little more water.
Press into lined baking tray and bake 180deg for about 20 minutes – until it becomes golden.
Filling:
- 6 eggs
- 2C castor sugar
- 1C lemon juice
- 1/2c plain flour
Beat all ingredients together well, pour over cooked base and bake a further 35-40 minutes until firm.
Cool in tray for 10 minutes, then gently remove from tray and rest on a wire rack to completely cool (this stops the base from sweating and softening).
Once cool, cut into cubes.
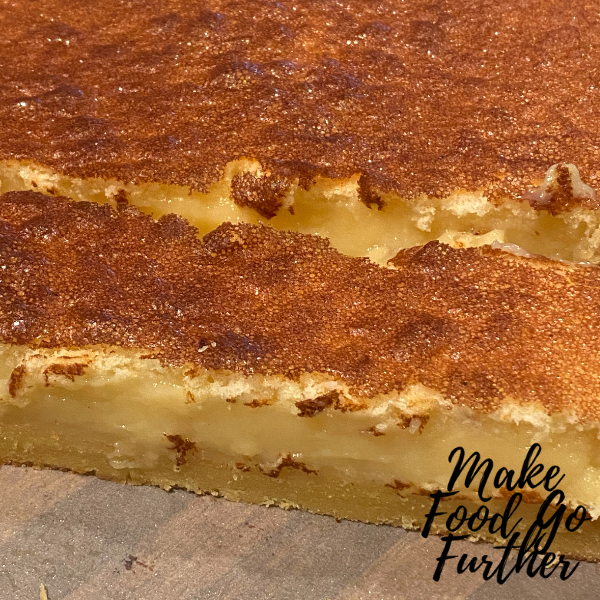
Hide in the back of the refrigerator so that nobody else can find it in an air tight container.
Not suitable to freeze (it won’t last that long anyway!).
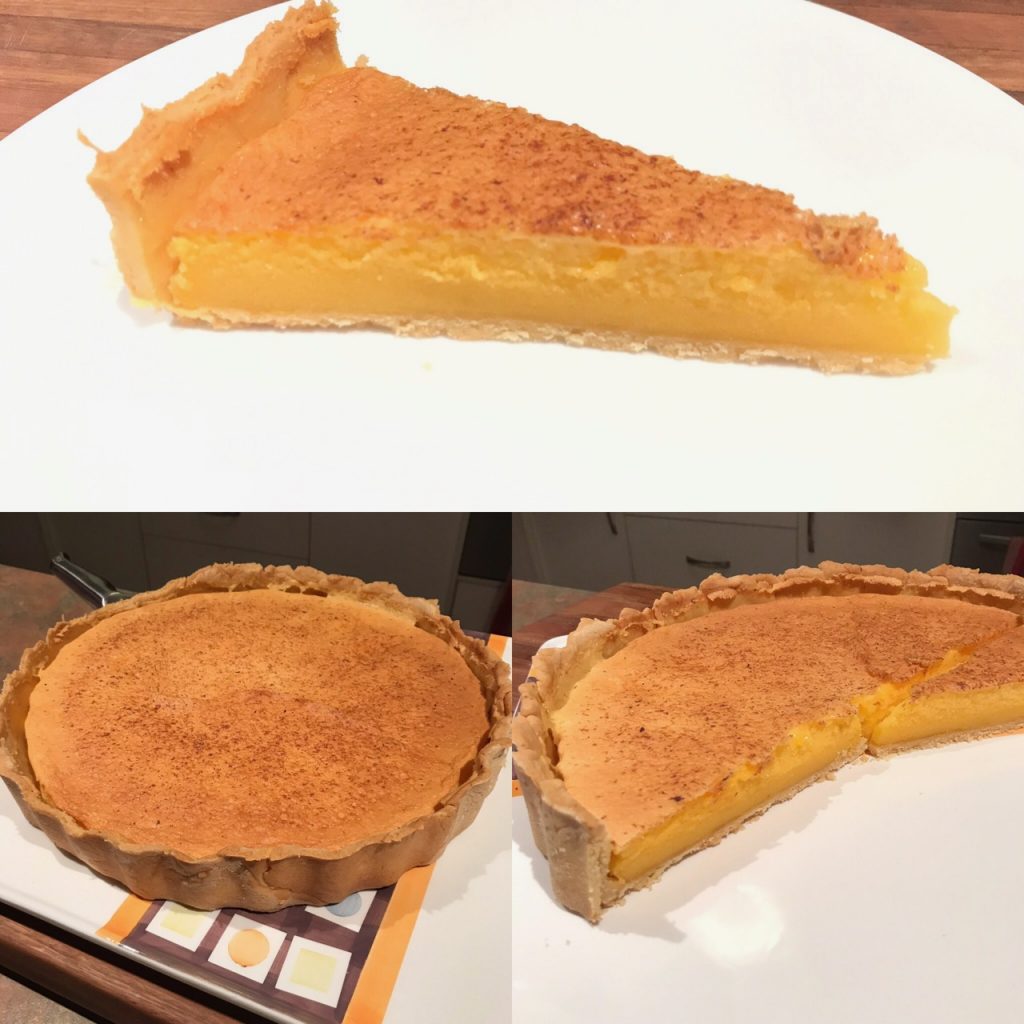
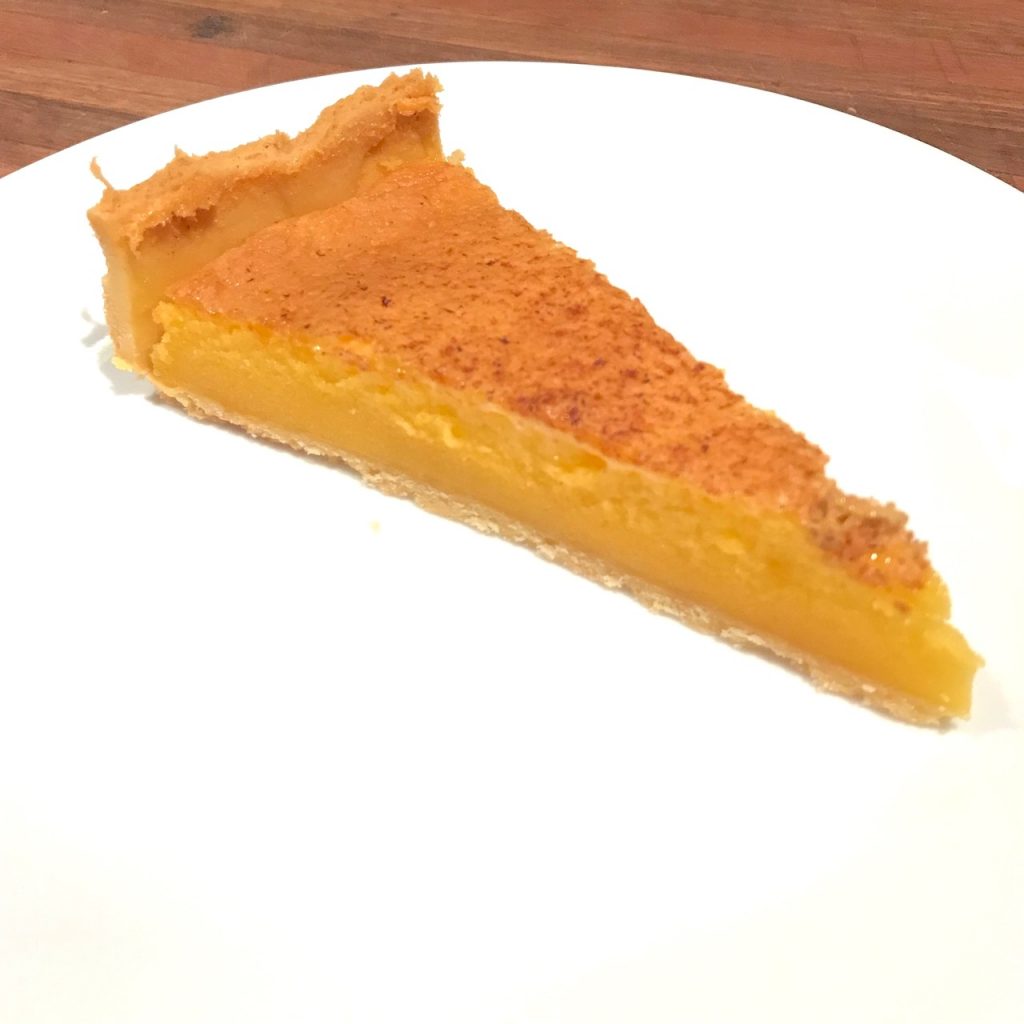
Homemade Custard Tart
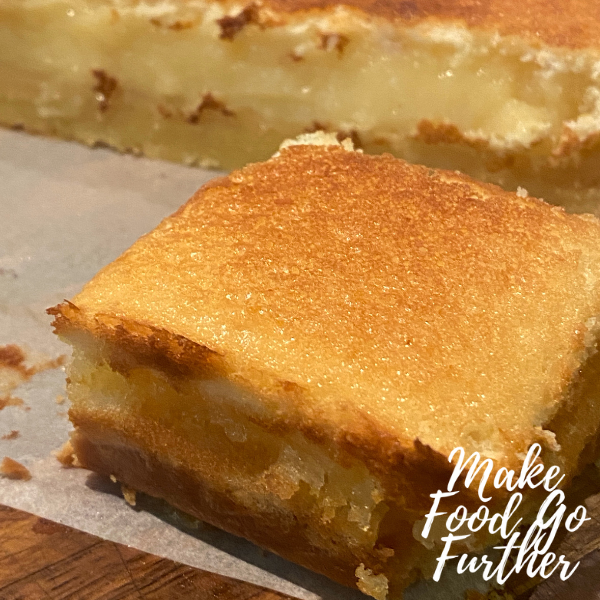
Remember when you were a kid and grandma would bake a homemade custard tart? Try our easy recipe today!
Ingredients
- 8 egg yolks
- 1C castor sugar
- 1T vanilla essence
- 1/4C custard powder
- 600ml thickened cream
- 1 quantity shortcrust pastry (unsweetened
- nutmeg
Method
Beat the egg yolks until thick and creamy. Add the vanilla essence. Slowly add the sugar, beating while adding. Add thickened cream and beat until a good thick volume is reached. Add custard powder, beat well.
Pour into prepared baking tin. Sprinkle ground nutmeg over the top of the tart. Bake 180 degrees until the custard is just firm. Turn off oven and allow to cool with oven door ajar.
Serve warm or cold with a dollop of fresh cream or ice cream.
Cheesecake – Easy No Bake Recipe
We love cheesecake – and there are so many variations to make. My
Of course the trick is to make that first bite worthy! A smooth, creamy filling – not too sweet – and a base that is firm and not soggy. This basic recipe will make you a Cheesecake Master in no time at all.

Ingredients
Base:
- 500g sweet biscuits – plain or
flavoured , depending on what you are creating – make sure they aren’t filled - 200g melted butter – don’t use margarine!
Filling:
- 2 x 250g Philadelphia cream cheese – at room temperature
- 3/4 C castor sugar
- 4 cups cream – not pre-whipped!
- 2 t vanilla extract
- 3 T gelatin powder
Method:
Melt butter in either a small saucepan or microwave. Place the biscuits in a food processor and process until they become crumbs. Lift the lid, and make sure there aren’t any chunky bits left. Replace lid, and while the blade is spinning, slowly add the butter.

Using a tin with a removable base, grease
Using a blender or beaters, beat the cream cheese until smooth, light and fluffy – it’s important that the cheese is at room temperature to achieve this. Add the vanilla and castor sugar – beat well. Reduce the speed of the beaters (unless you want mixture splattered over the kitchen) and slowly add the cream, pouring in a steady stream. Continue to beat until the cream whips up with the cream cheese.

Boil some water, and add the gelatine to the water in a small cup or bowl – mix and dissolve the gelatine.
Pour the gelatine into the cream cheese mixture – make sure that the beaters are running otherwise you will end up with lumps of gelatine in the filling.
Pour the mixture onto your prepared base. Cover and refrigerate until firm – note this will take a few hours to set firmly.

See the variations on this recipe for different cheesecake ideas

Hidden Raspberry Cheesecake 
Lemon Cheesecake 
Vanilla and Strawberry Cheesecake
Pear, Walnut and Mascarpone tart
This pear, walnut and mascarpone tart is one of my originals.
One day I was wondering what to do with those left over pears and who was going to eat them – I started day dreaming and into my head popped this pear, walnut and mascarpone tart, and I could taste it even though I’d never baked it.
So, jump on board and give it a try – you can thank me later!
Ingredients:
- shortcrust pastry
- 2 almost ripe pears
- 1 C chopped walnuts
- cinnamon
- 6 eggs
- 1/2C castor sugar
- 1 t vanilla essence
- 500g mascarpone cream (or 1.5C fresh cream)
- honey to drizzle
Method:
Make up the shortcrust pastry and cook as per my recipe here.
Slice the pears into about 2-3mm thickness. Spread the pears and chopped walnuts into the shortcrust pastry, sprinkle with cinnamon.
Whisk together the eggs, castor sugar, vanilla essence and cream until combined (you don’t want thick egg in the mix).
Pour over the pears and walnuts. Drizzle with honey.
Bake moderate oven until just set.
Serve with a dollop of cream.
Lemon Cheesecake – Easy No Bake Recipe
I love lemon cheesecake – this one is easy as its no bake – the longer you leave it (a day or two) before eating, the more lemony it is in flavour.
There is something special about that first bite of a cheesecake – has the base got the right texture? is the filling smooth and creamy? is it just sweet enough? This lemon cheesecake ticks all those boxes…try some, you won’t like it – you’ll LOVE it!
Ingredients:
Base:
- 500 g sweet biscuits – arrowroot or butternut
- 200g butter, melted
Filling:
- 2 x 250g cream cheese at room temperature
- 2 x 400g tins sweetened condensed milk
- 2 teaspoons vanilla extract
- juice and zest of 5 lemons
- 3 tablespoons gelatin
Blend the biscuits until they are crumbs in the processor – while processor is still running, add melted butter.
Press crumb mix into the bottom of a lined springform pan (I used 23cm) and up the sides. Place in freezer for about 30 minutes. If it looks like there is too much butter, use paper towel to soak up the excess.
Using a blender, beat the cream cheese until smooth, light and fluffy. Add the condensed milk, vanilla, lemon juice and zest. Beat until smooth and well combined. Boil water, pour into a cup (about 1/2 cup boiling water), add gelatin and stir until combined and there aren’t any lumps. Add to lemon mix. Beat well.
Remove tin from freezer. pour lemon mix over base. Refrigerate at least 6 hours or overnight until set.
Things to note: I love lemon! I love the zest of it, and when it is in a sweet, I love the sweet and sour zingy thing that happens in my mouth when I eat it – the more zing, the better it is. This cheesecake will improve with flavour if you leave it for a day or two before consuming.
Shortcrust Pastry – Easy to Make and Better than Frozen ~ Everyday!
Making your own shortcrust pastry is so easy, you will wonder why you ever spent the extra dollars on the store bought variety. Use this recipe for either sweet or savoury dishes and create a simple, yet short (that’s where you get that crisp base from) pastry.
Yum, who doesn’t love a lovely tart with a really lovely shortcrust pastry base? This can be used for quiche, sweet tarts, savoury tarts – it’s simple and delicious.
This recipe is made in the food processor – if you do not have a food processor, you can still make it by hand – work quickly and only use the tips of your fingers when getting the mix to “breadcrumb” stage (if you use your palms the mix will heat up).
Ingredients:
- 1 3/4 cup plain flour
- 125g chilled butter (roughly chopped)
- 1 egg yolk, lightly whisked
- 2 teaspoons iced water
Put the flour and butter into the processor – process until it looks like fine breadcrumbs.
 Add egg yolk and water and process until dough just starts to come together (note – add more water if required).

You are aiming for a soft, smooth dough.

You will need to blind bake the pastry.
Lemon Tart – Just Like it Says, With a Bit of a Zing Bite Included
All that left over lemon juice from making the Limoncello and I just had to create something – I had promised work I would make a lemon tart and bring it in – wonder if it will last that long?
I have to tell you, when I ask for a lemon tart, I expect that tartness on the tongue which reminds me of eating sherbet as a kid – you know, that zing that makes you squirm yet salivating for more? This is it!
Click here for the shortcrust pastry recipe.
To make the filling:-
Ingredients:
- 3 tablespoons lemon zest
- 2/3 cup lemon juice
- 6 eggs
- 1 cup castor sugar
- 1 1/3 cups pouring cream
Whisk ingredients together, set aside until ready for use.

Pour lemon mixture over pastry base.

Bake in oven until set. Let the tart cool before trying to remove it from the pan. Note, that when I made this one, it was a bit tricky to get the tart out of the pan without breaking it – tip: either put some extra baking paper underneath it that you can reach so you can pull it up, or be smarter and use a spring form pan instead (be smarter, lol).
Note: if you have lemon mix left over, put into a baking dish and bake separately – serve with ice cream – yummy.
Blind Bake Pastry – Step by Instructions Made Easy
The trick to a good base is to blind bake pastry. By doing this, you are setting the foundations for a really good, short, crisp base instead of a soggy mess.
A blind bake pastry is really easy to make. The idea is so that you can keep a fairly thin crust without it bubbling up before you put the filling in.
Once you have made your pastry, follow these steps.
Roll out onto a lightly floured surface – roll out to the size of the tray you intend to use for the tart. Line the tray with baking paper, then place into tray and trim to fit.
Refrigerate for at least half an hour to let the pastry rest. This will let the gluten relax and stop shrinkage.
The next step is to place grease-proof paper over the pastry, and cover with either baking beads or uncooked rice to weigh the pastry down and to stop it bubbling up.

Bake 180ºc for about 15 minutes to set the pastry.

Then remove the weights and put tray back into the oven, cook until slightly golden.
Remove from oven.


Carefully inspect your pastry – if it has cracks like mine does, the liquid will leak into the tray when you add the filling. You need to make a “putty” to fill the cracks and seal the pastry.
To make the putty, mix some flour and water together to form a paste.

Then spread a film of paste over the baked pastry, making sure you fill any cracks.

Then, back into the oven to cook off the base again.
You will see that the “putty” will be firm when ready.

Once your tart base is ready, you can then continue on with the recipe and fill as per the recipe instructions.
